First, you need to make sure that you are using an Nvidia graphics card (NVIDIA), otherwise you will not be able to use it even if you install it.
Install CUDA
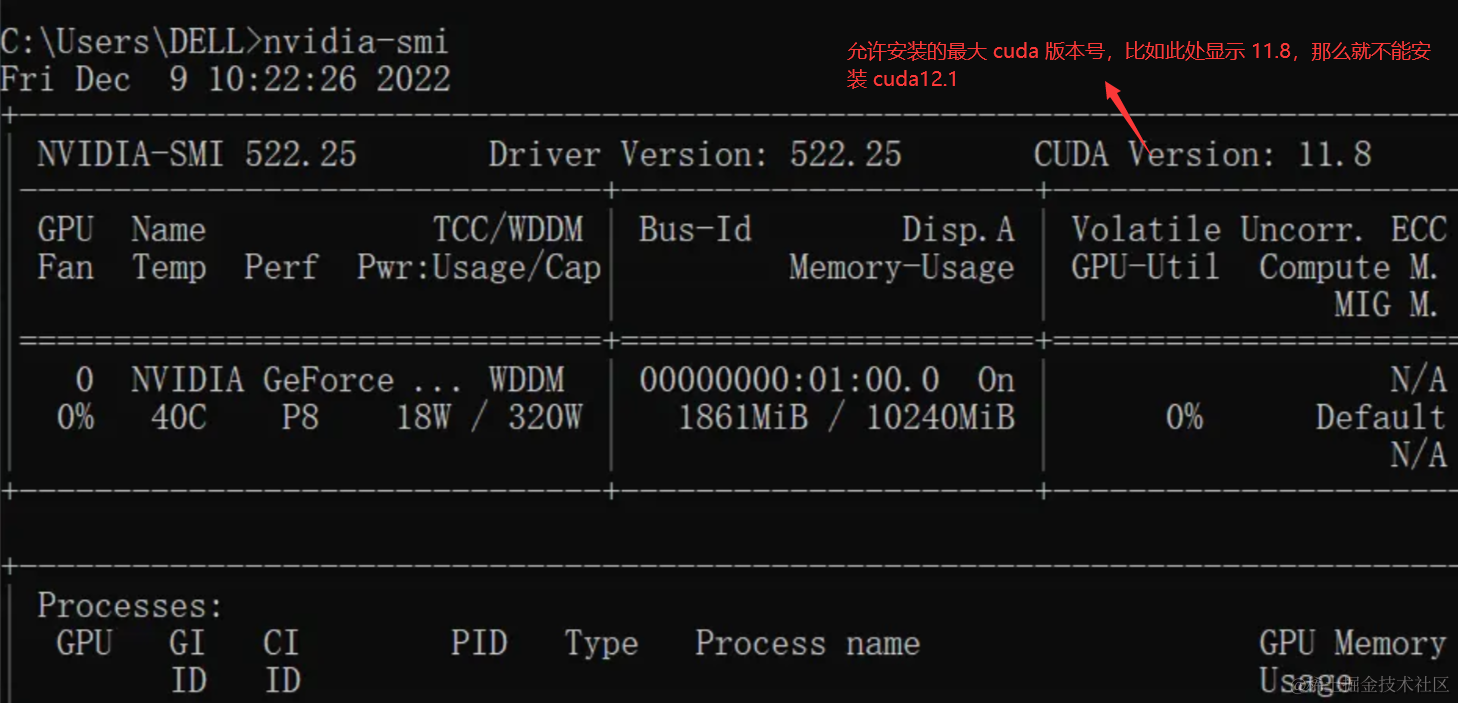
- Update the graphics card driver to the latest version, and then execute
nvidia-smito check the maximum CUDA version number that is allowed to be installed. You cannot install a CUDA version larger than what is displayed here. For example, in the figure below, the maximum CUDA version number allowed to be installed is displayed, such as 11.8. You cannot install cuda12.1
- First, open the website https://developer.nvidia.com/cuda-downloads, select the corresponding CUDA version according to your operating system version, for example, in the figure below, x86_64 window 10 operating system is selected, and then click exe[local]
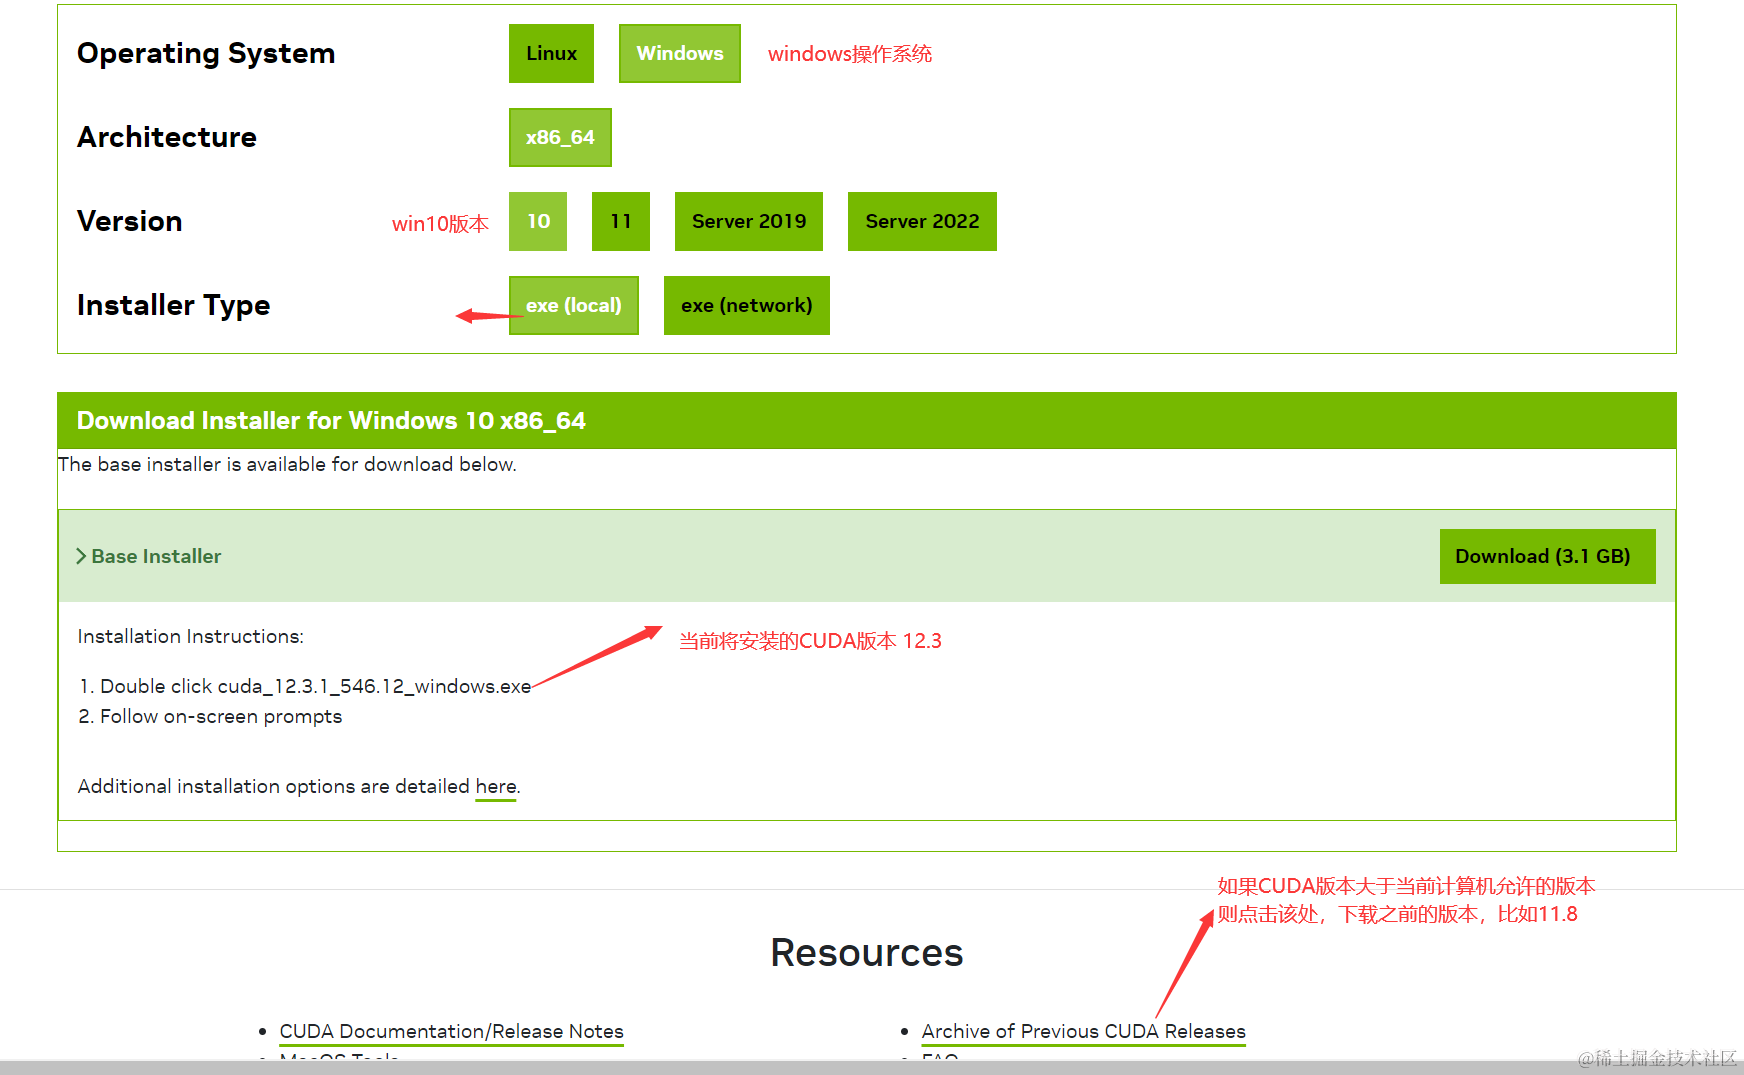
Note: If the current version is greater than the version allowed by your computer, for example, after executing nvidia-smi, the allowed version is 11.8, but here it is 12.3, then it cannot be installed. You need to click the link https://developer.nvidia.com/cuda-toolkit-archive to download the old version
Double-click to open after downloading
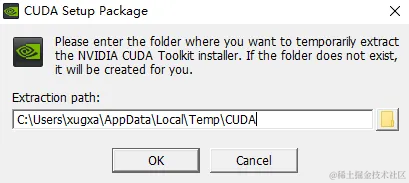
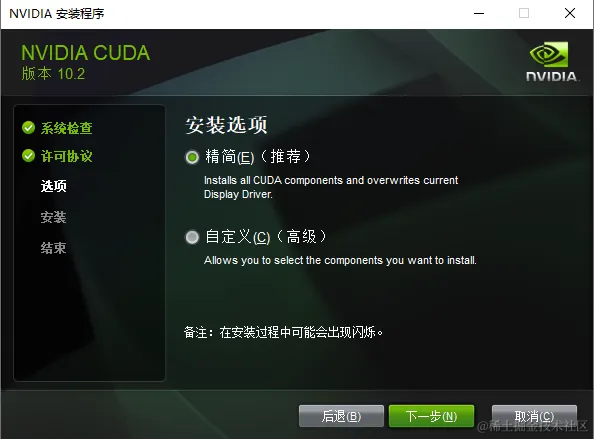
Then click OK, and then in the figure below, select "Custom Installation", and then click Next
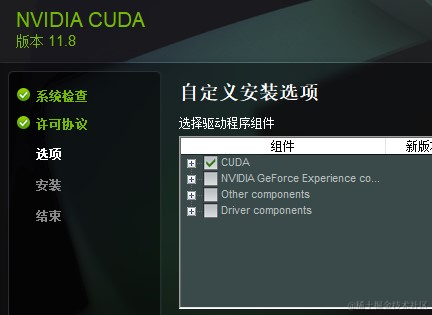
In the custom installation options interface, only select "CUDA", and uncheck all other selections, as shown in the figure below
After the installation is complete, it will be installed in the C:\Program Files\NVIDIA GPU Computing Toolkit\CUDA\v12.1 directory by default. If you installed version 11.8, then change the final v12.1 to v11.8, and so on. If the installation is successful but this directory does not exist, please check whether it is in the C:\Program Files(x86)\NVIDIA GPU Computing Toolkit\CUDA\v12.1 directory.
Install cudnn
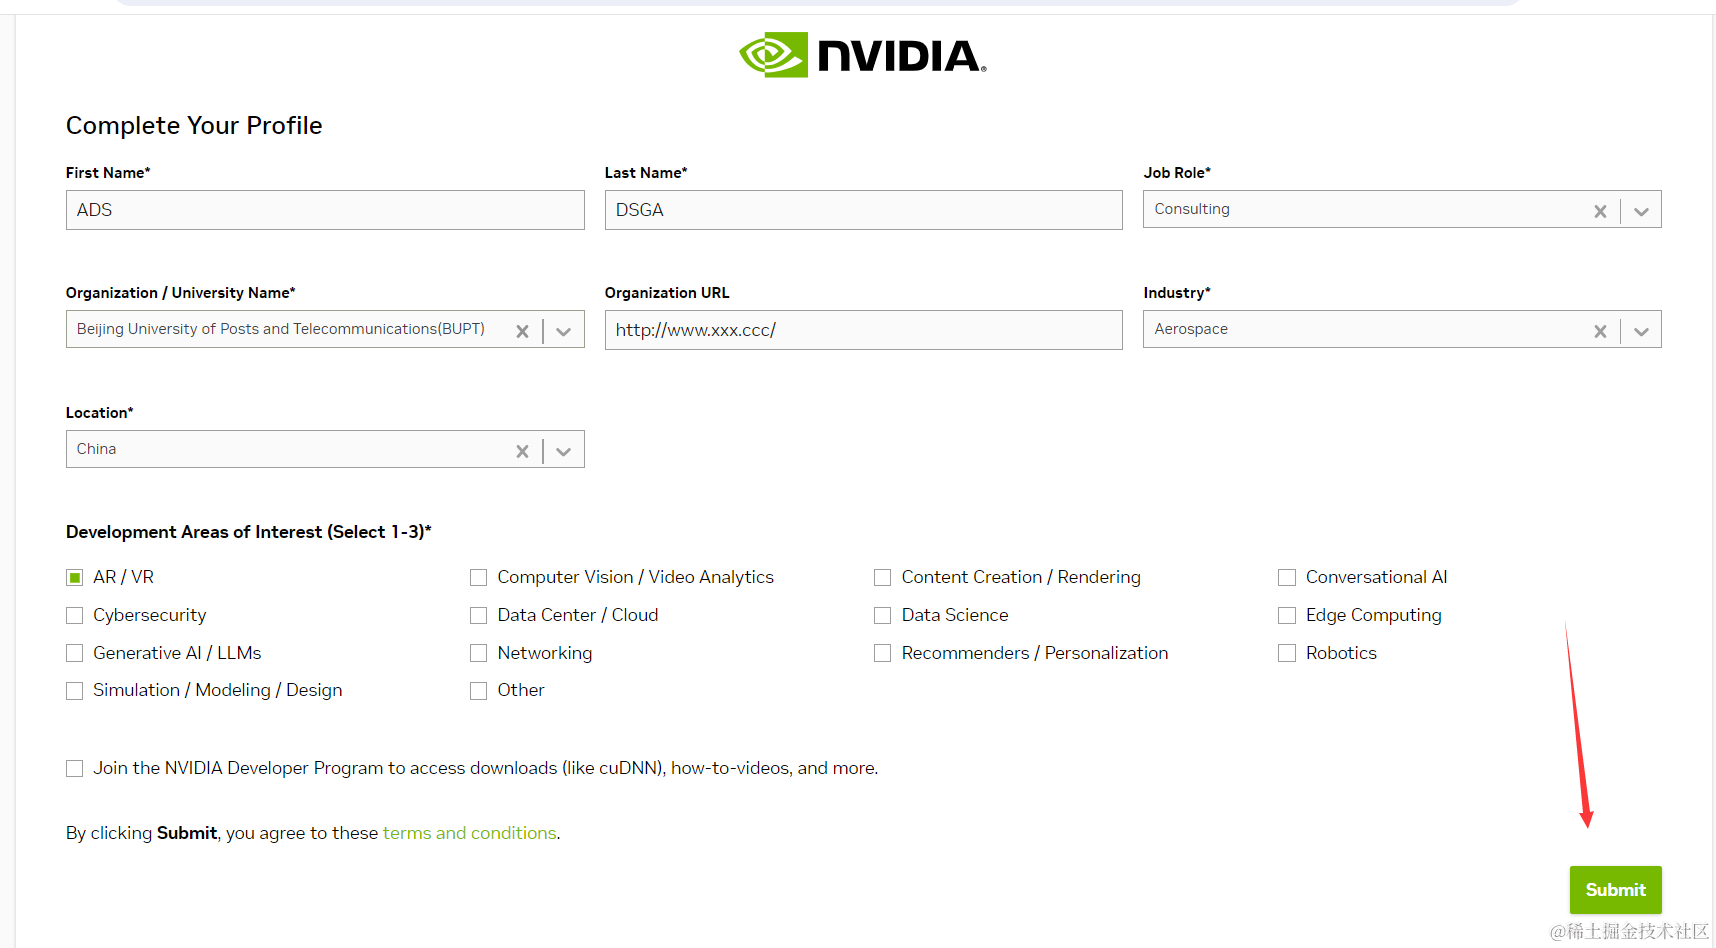
- After CUDA is installed, open the website https://developer.nvidia.com/rdp/cudnn-download. This website may require login. If you do not have an account, register and log in first. After opening, you may need to fill out a questionnaire, as shown in the figure.
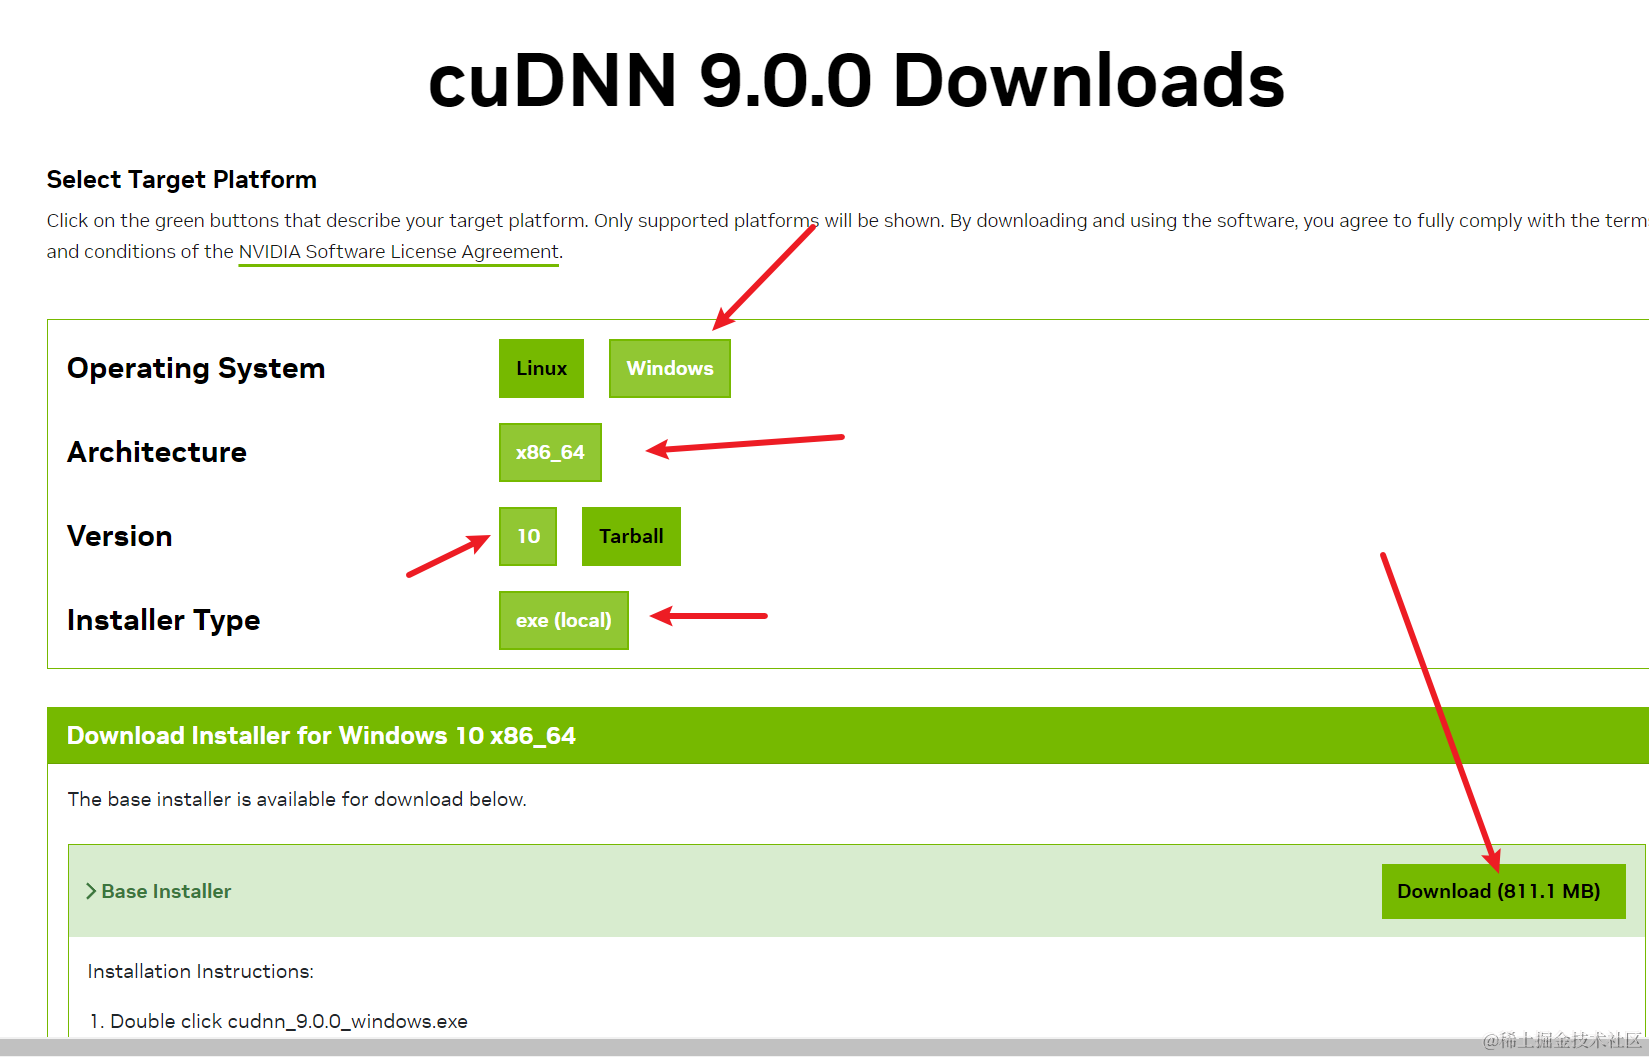
- After submitting, you will reach the download page. Select and download according to the operating system version
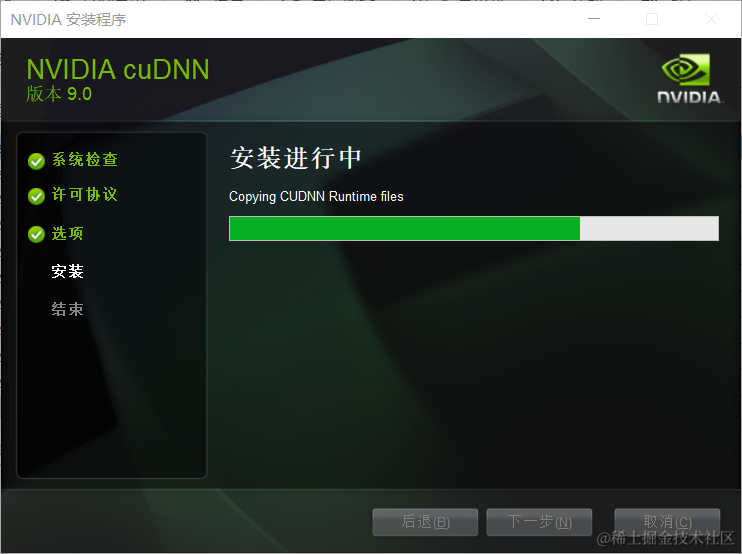
- After downloading, double-click to install, and click Next all the way to complete
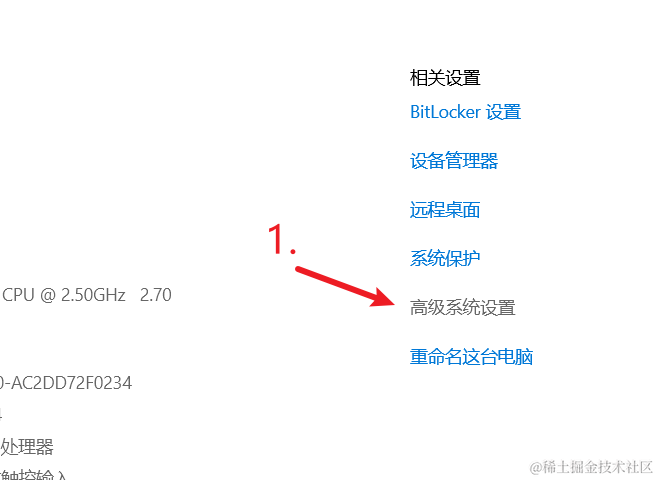
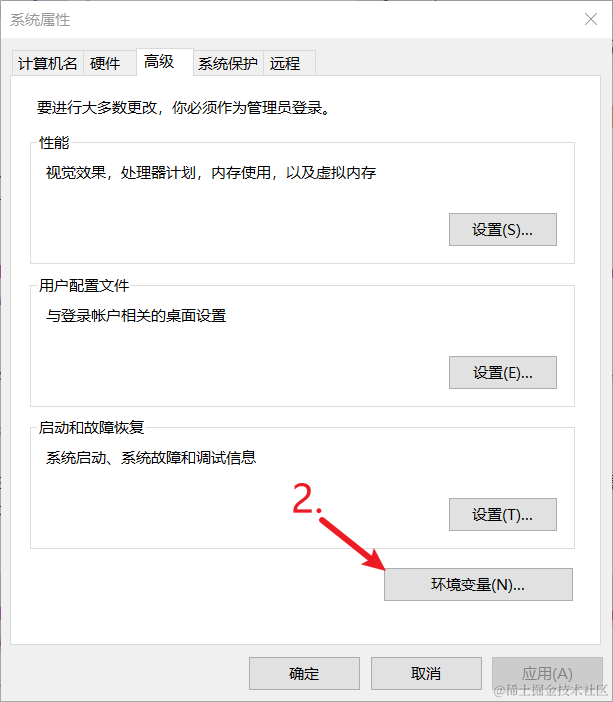
Configure environment variables (may have been automatically added, if not added, please add manually)
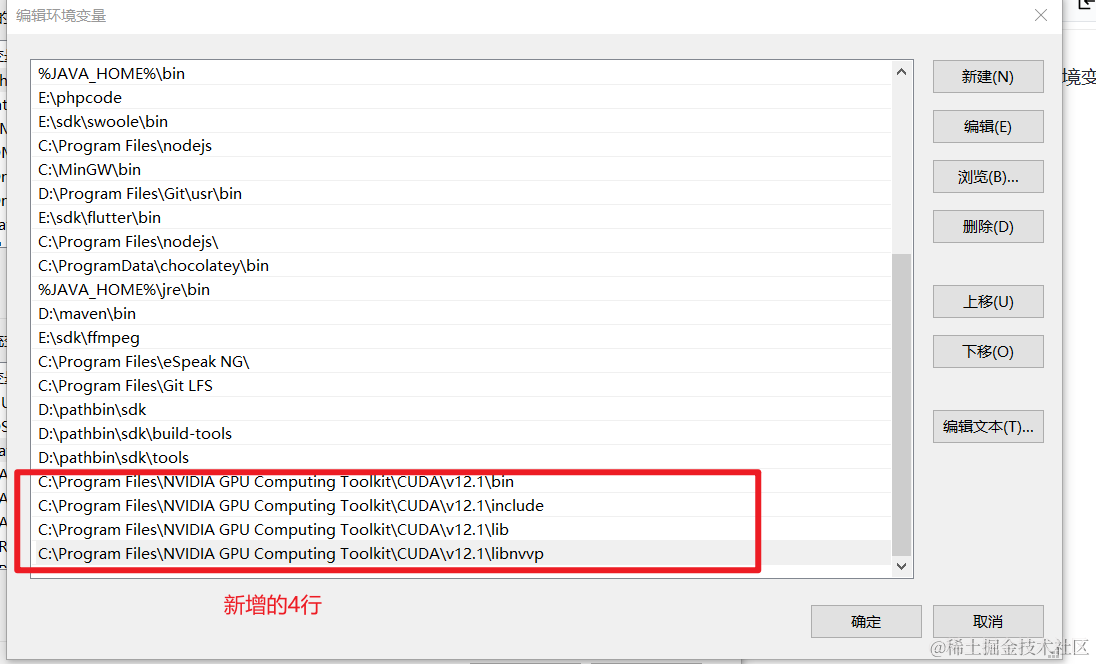
Press the Window + Pause key on the upper right corner of the keyboard, find advanced settings on the opened settings page, click to open environment variables--system variables, add 4 records, as follows, the specific version number depends on the version number you installed. First observe whether it already exists, if it exists, no need to add
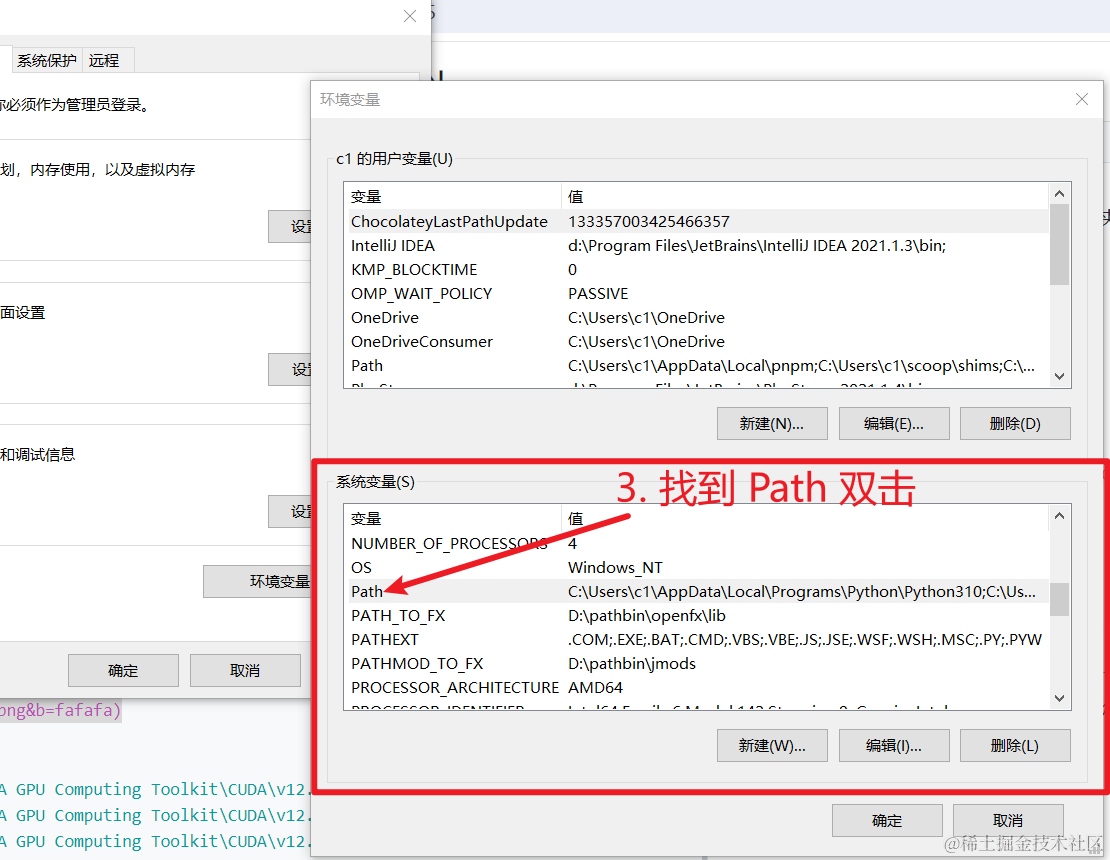
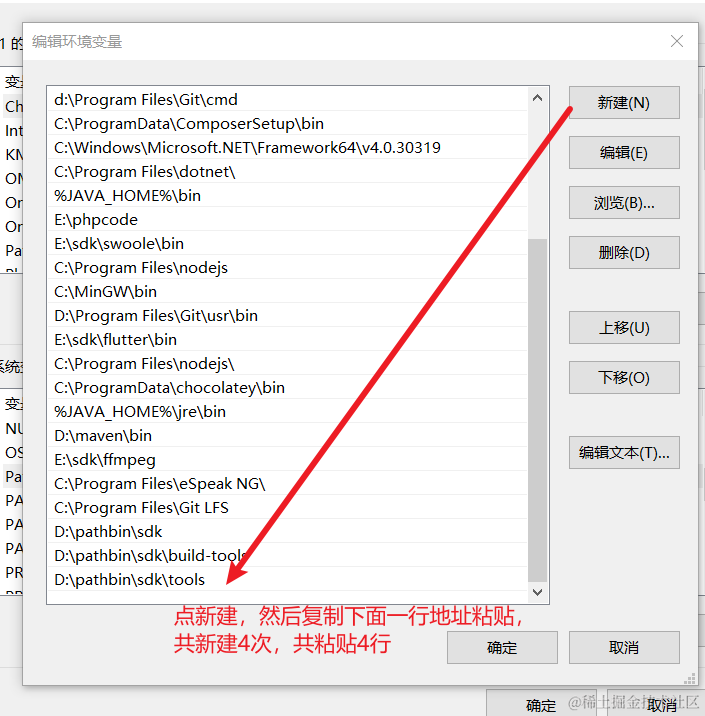
C:\Program Files\NVIDIA GPU Computing Toolkit\CUDA\v12.1\bin
C:\Program Files\NVIDIA GPU Computing Toolkit\CUDA\v12.1\include
C:\Program Files\NVIDIA GPU Computing Toolkit\CUDA\v12.1\lib
C:\Program Files\NVIDIA GPU Computing Toolkit\CUDA\v12.1\libnvvpThe finished effect
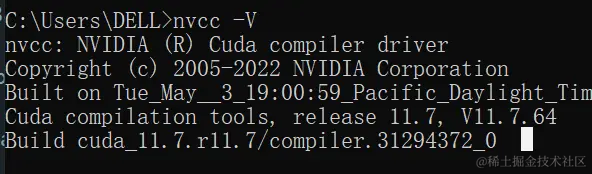
Test whether it is successful
- Execute
nvcc -V, and the cuda version number will be returned successfully
Install cuBLASxx.dll
Sometimes "cublasxxx.dll does not exist" is reported in faster mode
Please download this file, and then copy the dll file inside to the C:/Windows/System32 directory or the software root directory, which is the directory where the exe is located
Enter cmd in the address bar of any folder to open a black window, and enter the command nvcc -V to view the current CUDA version
Click here to download CUDA11.x version https://github.com/jianchang512/stt/releases/download/0.0/cuBLAS.and.cuDNN_CUDA11_win_v4.7z
Click here to download CUDA12.x version https://github.com/jianchang512/stt/releases/download/0.0/cuBLAS.and.cuDNN_CUDA12_win_v1.7z